Stripe Terminal Integration
Note: All images in this documentation are from a Stripe Sandbox account for demonstration purposes.
Prerequisite: Partners must complete Stripe onboarding for terminal integration before following these steps.
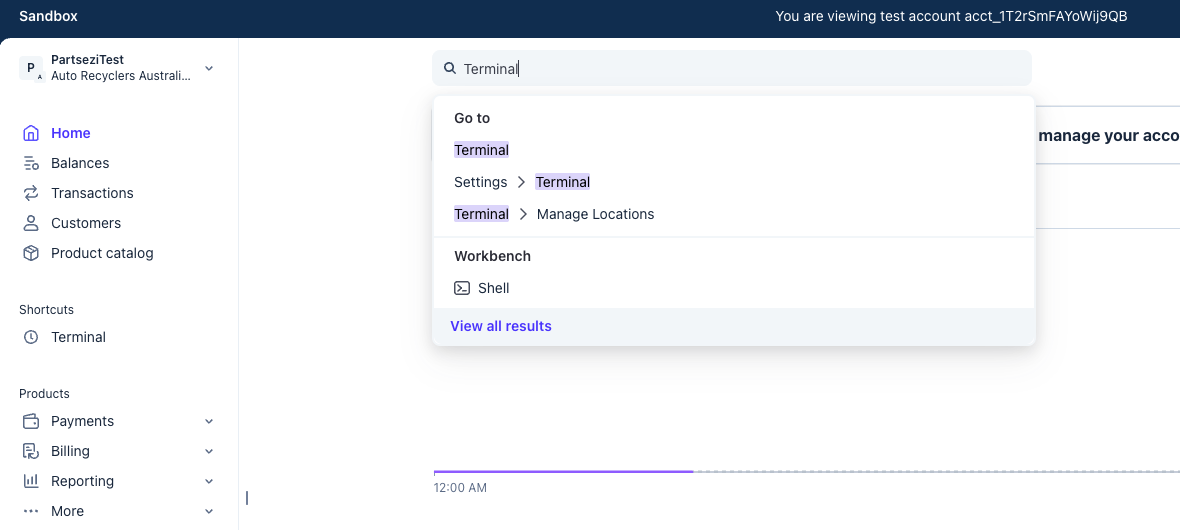
Getting Started
From your Stripe Dashboard home page, search for "Terminal" to access the Terminal section.
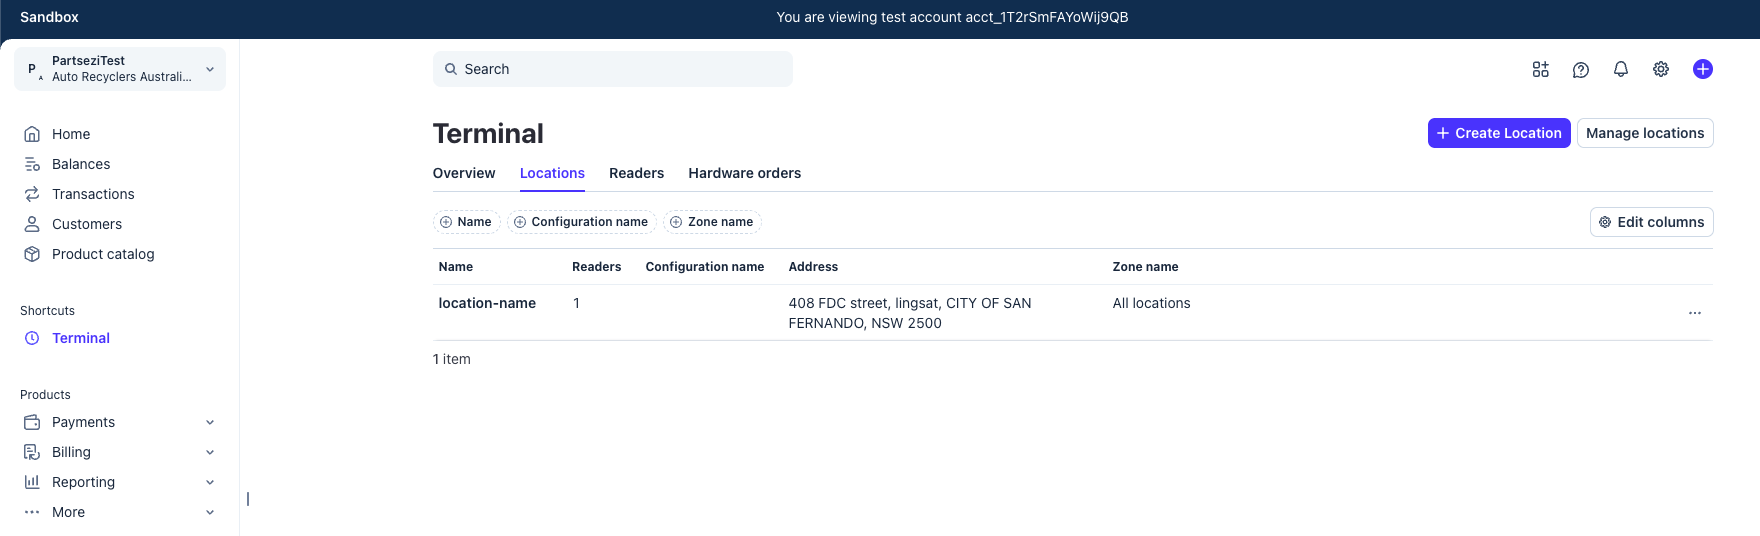
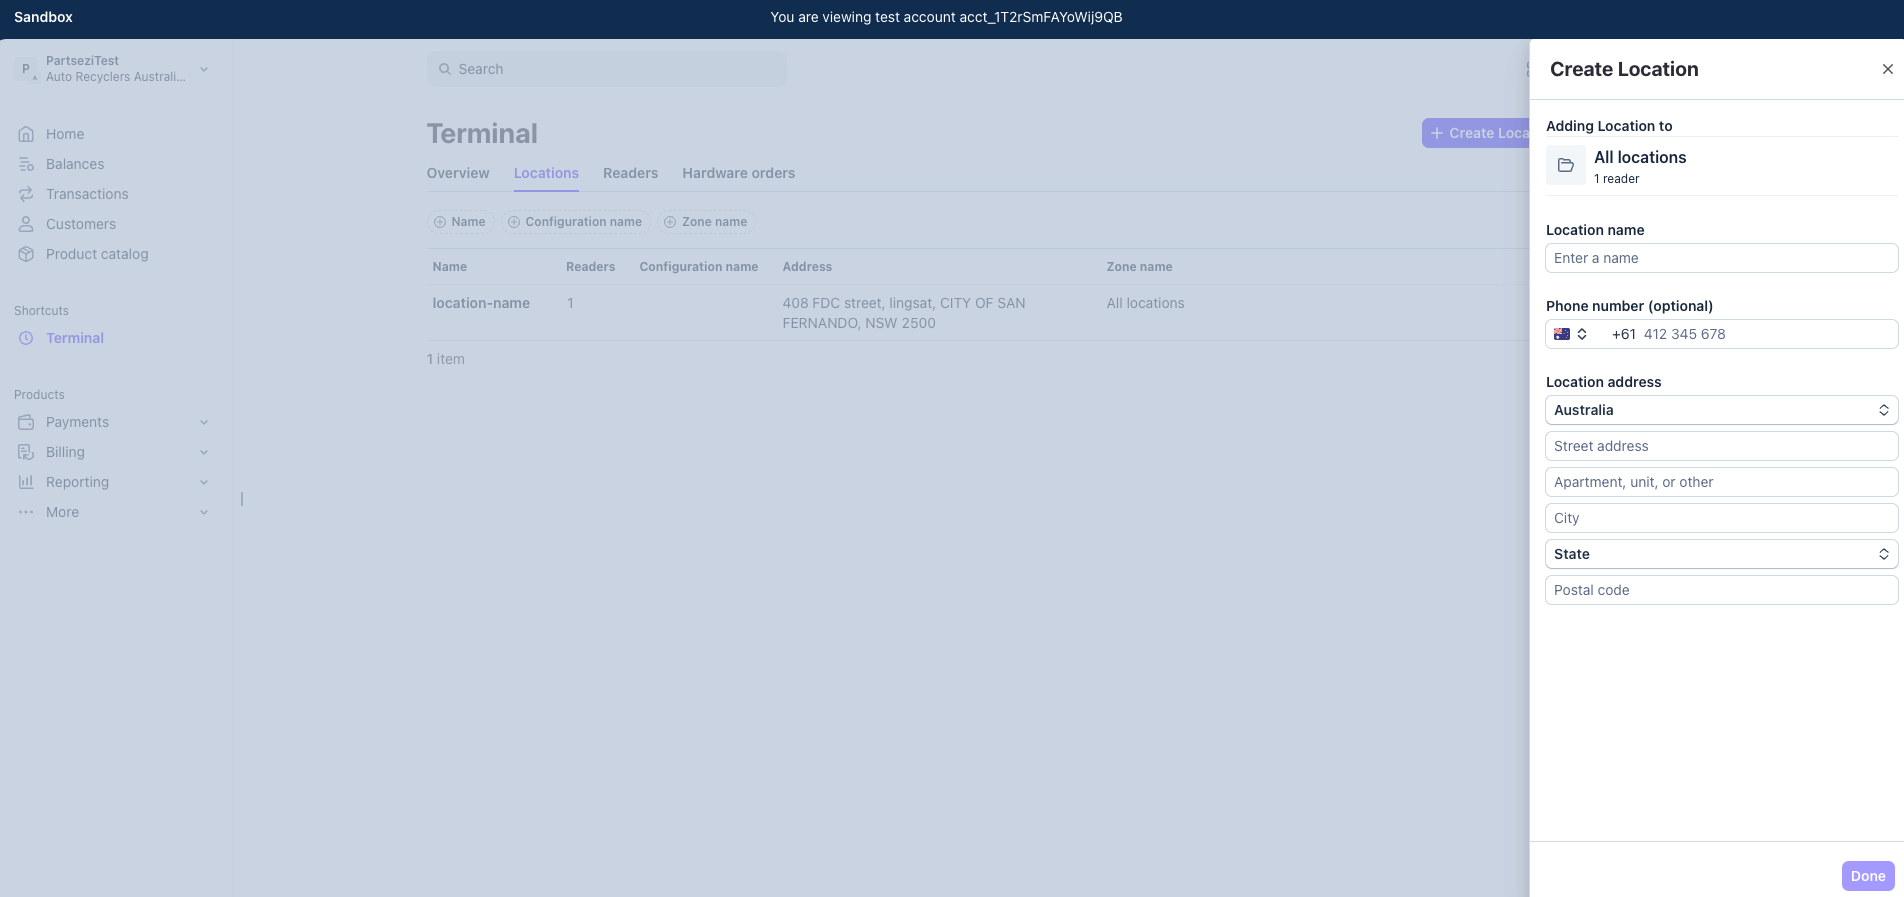
Create a Location
- Open the Locations tab.
- Click the + Create Location button in the upper right corner.
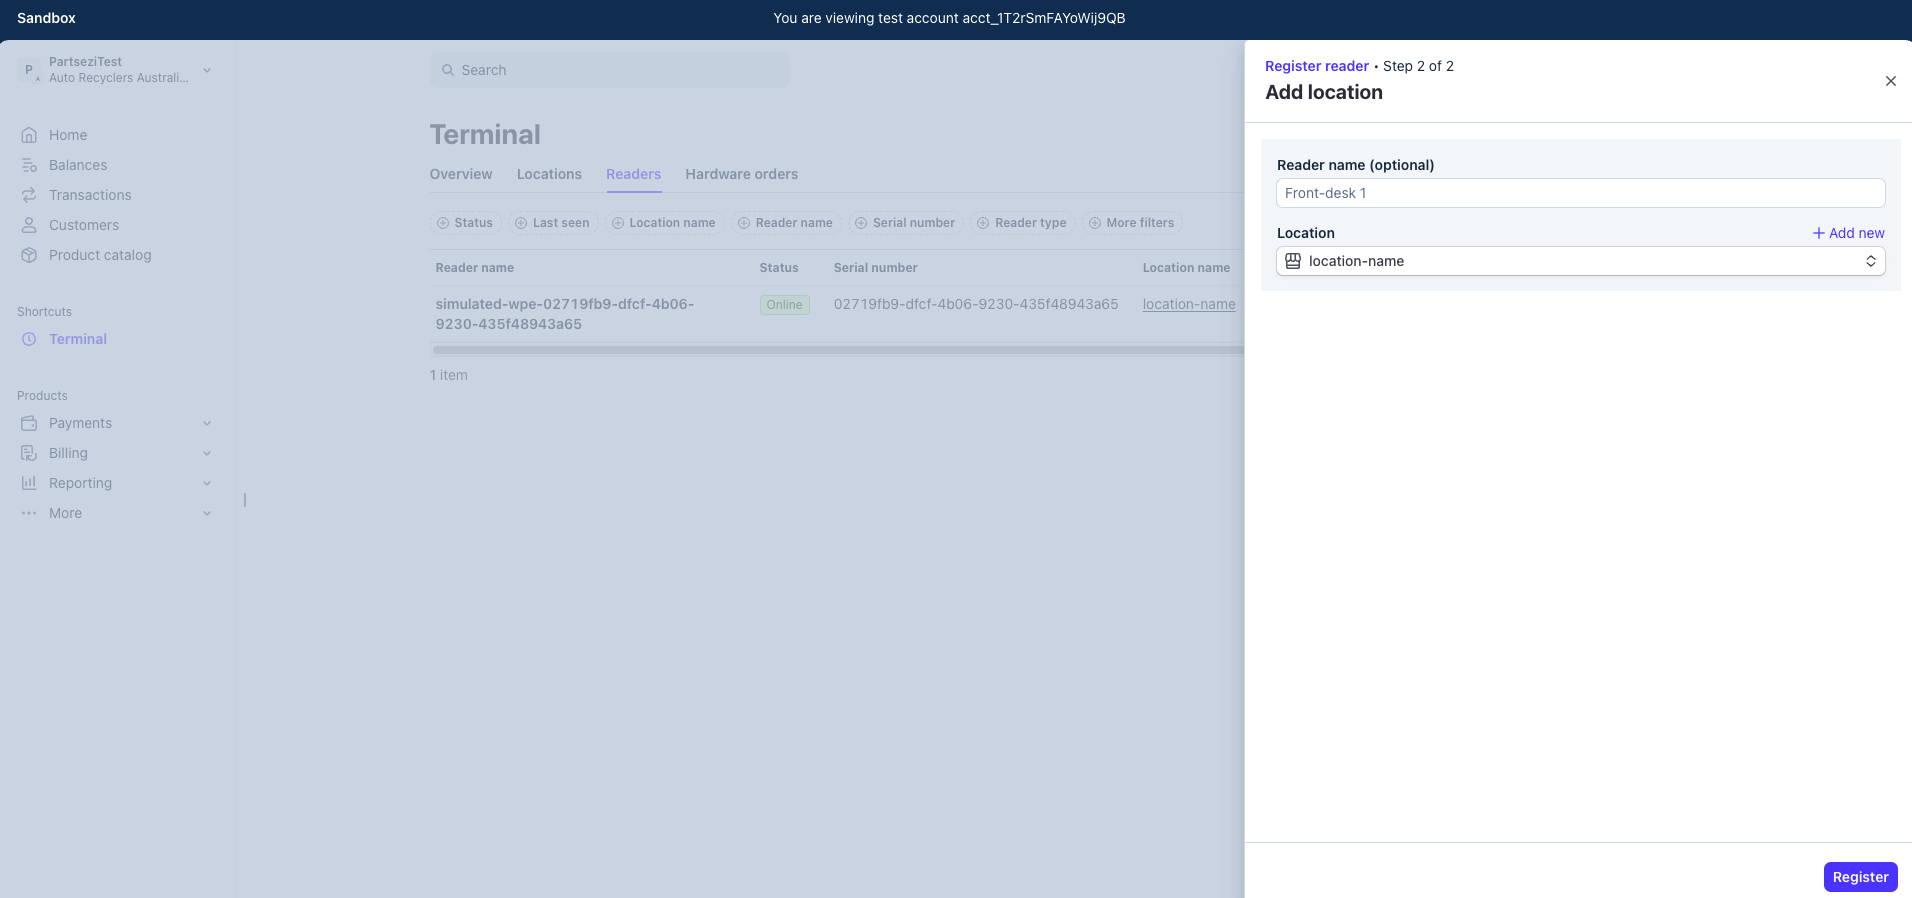
Create a Reader
- Open the Readers tab.
- Click the Register Reader button in the upper right corner.
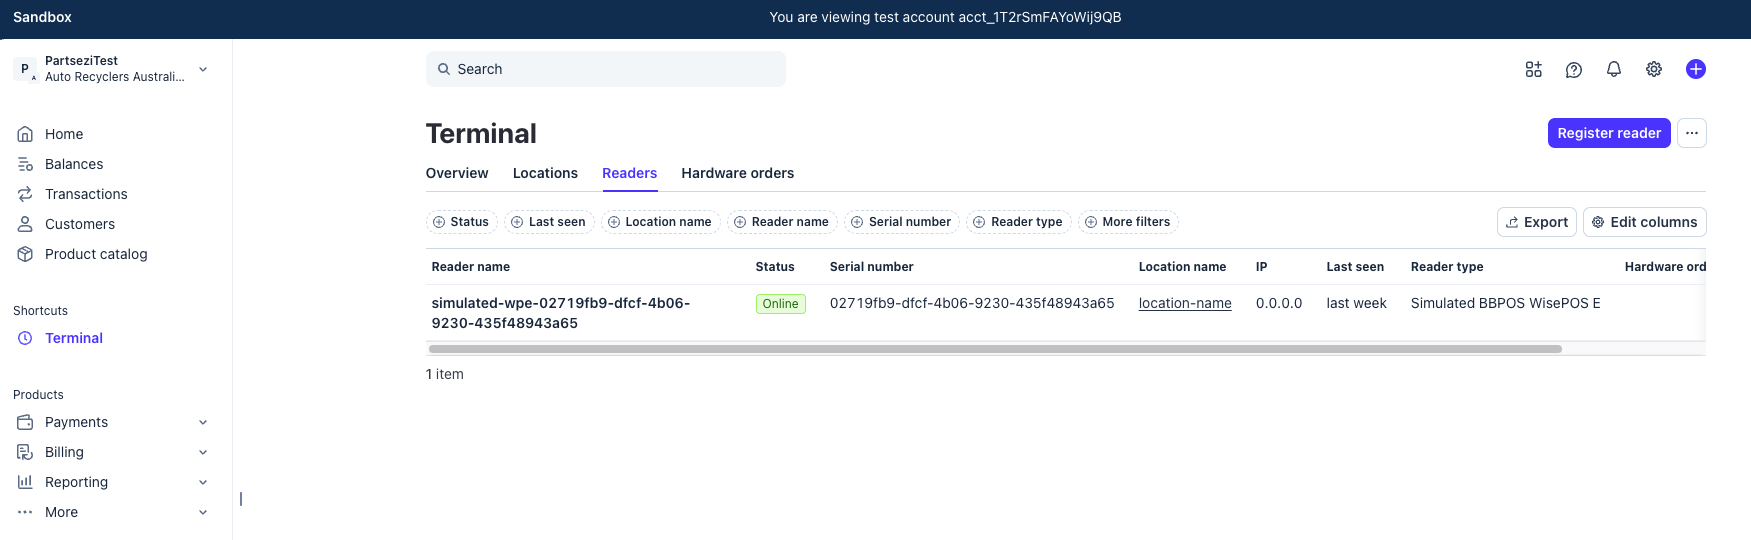
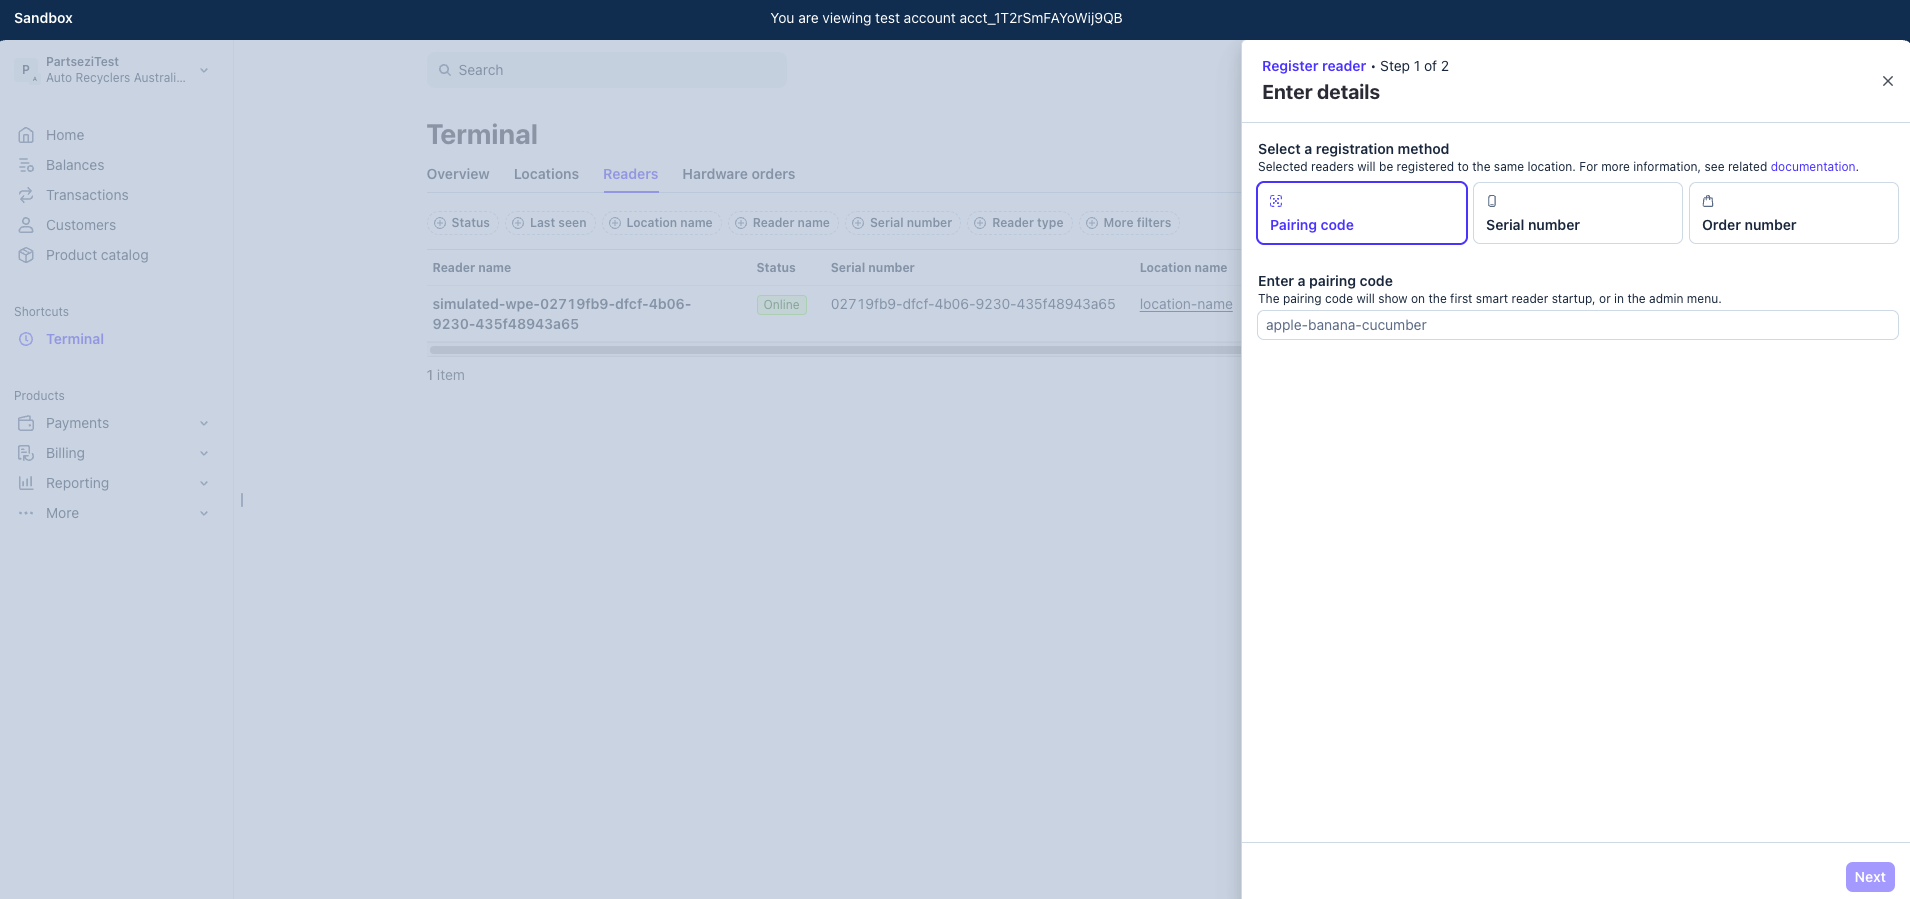
- Select the location you created in the previous step.
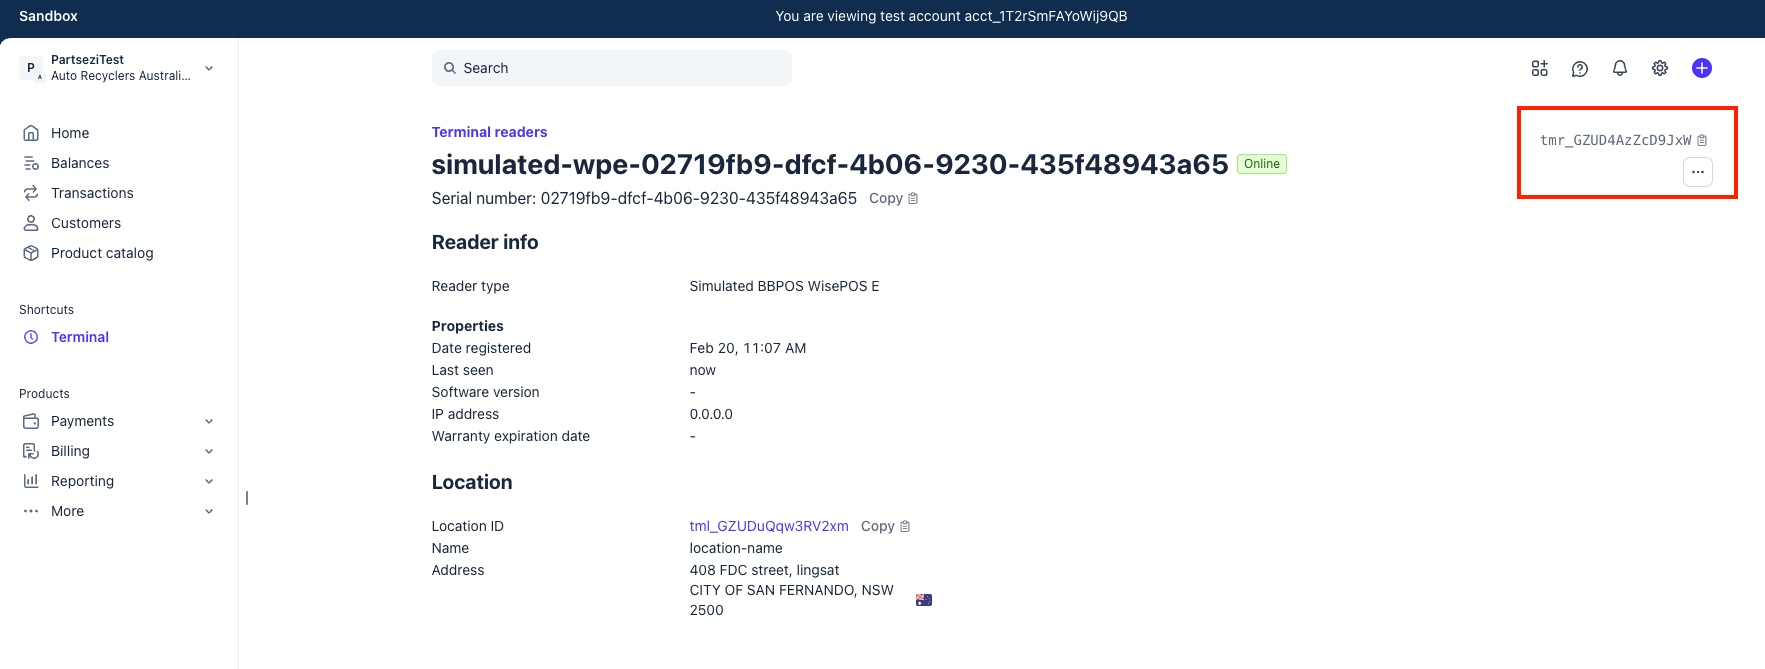
- Click the newly created reader row to view its details.
- Copy the Reader ID (highlighted in the image below) and send it to PartsEZI staff or your administrator so they can register it in the system.
Once your Reader ID has been registered in PartsEZI's system, you will be able to use the Terminal payment method at checkout.